Size
Color


Herringbone Wallpaper: Easy to Install and Perfect for Your Decor
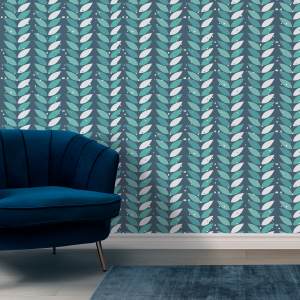
Herringbone wallpaper (you'll also see "chevron" or herringbone) strikes that rare balance between trendy and timeless.
It dresses walls without clutter, and works in Nordic, natural, minimal styles, and even more classic interiors if you combine it with warm tones.
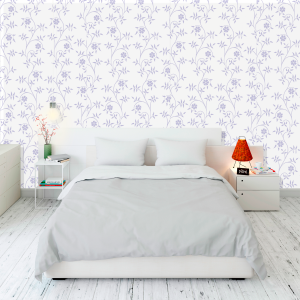
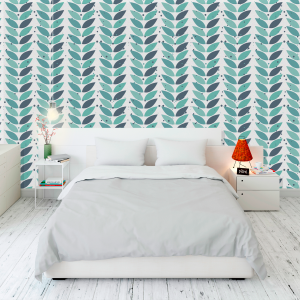
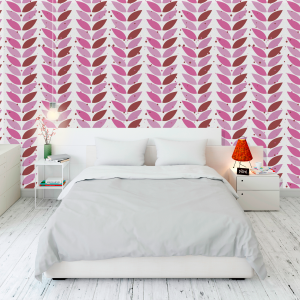
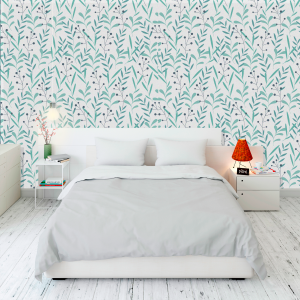
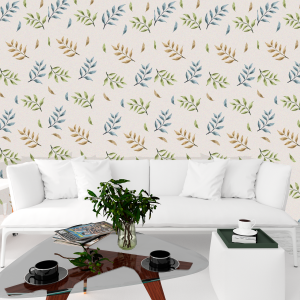
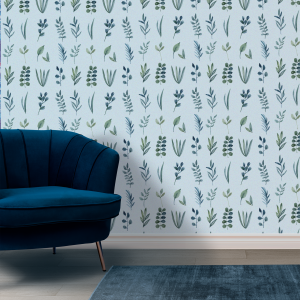
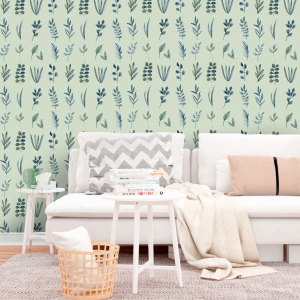
If you're looking for wallpaper for wall for your living room, bedroom, hallway, or even kitchen/bathroom, at Sweet Papaya you have more than 5,000 100% personalized designs.
Herringbone wallpaper works in almost any style
The herringbone pattern creates successive "V" shapes that create visual rhythm and a sense of height. Here's why:
- It stylizes low walls: the diagonals draw the eye upward.
- It camouflages slight imperfections better than a plain one.
- It combines easily: in neutrals (beige, gray, greige) it looks natural/Nordic; in contrasts (black and white, sand and anthracite) it adds character.
If you're looking for a very organic finish, you can opt for textured wallpapers, a plant-based fibre effect, a woven weave, or a wood/plaster herringbone pattern.
How to calculate rolls and align the herringbone pattern seamlessly
- Measure the height and width of the wall. Classic example: 2.50 m high × 3.00 m wide.
- Usual roll width: 53 cm (0.53 m). Strips needed = 3.00 ÷ 0.53 = 5.66 → 6 strips.
- Height per strip: wall height + 5–10 cm allowance (top/bottom cut). For 2.50 m, cut 2.60 m per strip.
- Pattern repeat (rapport): If the herringbone pattern repeats every, e.g., 32 cm, add a “reserve” per strip of ~1 extra repeat to match the pattern without overdoing it (better to have too much than too little).
- Typical roll length: 10 m. With 6 strips × 2.60 m = 15.6 m gross requirement. If a roll (10 m) produces 3 strips of 2.60 m (3 × 2.60 = 7.80 m + matching losses), assume 2–3 strips/roll depending on the ratio. A rough estimate: 3 rolls for the example (if the ratio is large, calculate 4 to be safe).
- Construction tip: Mark a perfect plumb line (laser level if you have one) in a herringbone pattern and start in the visual centre of the wall, not always in a corner. This way, you'll distribute symmetry and avoid truncated "V" shapes where they're most visible.
Step-by-step installation and how to avoid common mistakes
- Surface: Clean, dry, smooth, and primed (sealer). Repair cracks and sand with popcorn ceiling tiles if you're looking for a fine finish.
- Layout: Mark reference lines with a level/laser.
- Cutting: Pre-cut strips with the margin you calculated and respect the rapport.
- Gluing: Paper: Glue the back and let it air dry according to the schedule. Non-woven/Vinyl: Glue the wall (cleaner and more stable).
- Installation: From the guideline to the rest. Use a rubber roller or soft spatula from the centre to the edges.
- Joints: Lay out the next strip dry to match the tenon; adjust at the top, fit into the “eye”, lower, and correct.
- Finishing: Utility knife + metal ruler on baseboards and ceilings; clean cloth for excess glue.
Typical mistakes (and solutions)
- “Wobble” joint: This happens because the wall is not plumb → trust the guideline, not the corner.
- Bubbles/wrinkles: Carefully lift before it dries and re-adjust, expelling air.
- Glue stains: Clean immediately with a damp cloth (if the material allows).
- Negative cut: Always use a new blade; the herringbone pattern reveals blunt cuts.
At Sweet Papaya, we're sharing a step-by-step guide so you can install it with a professional finish. Place your order today!
Frequently asked questions about herringbone wallpaper
Is herringbone wallpaper suitable for bathrooms and kitchens?
Yes, but choose washable vinyl and avoid constant showers or splashes. In a kitchen backslash, it works very well if you seal the joints and ventilate properly.
How do I clean and maintain it?
- Vinyl: Use a soft cloth with soapy water, without rubbing vigorously.
- Non-woven/Paper: Use a feather duster or a very slightly damp cloth; test in a corner first.
Avoid harsh chemicals and dry any spills as soon as possible.
Self-adhesive or glue-based wallpaper: which should I select?
Self-adhesive is quick and perfect for rentals or small areas, but it requires very smooth walls and allows for fewer herringbone corrections. With non-woven/vinyl + glue, you have more adjustment range and better-hidden joints.
How can I remove it without damaging the wall?
Quality non-woven is often scriptable (it comes out in large strips). If it persists, moisten with warm water and a little soap, let it sit, and remove with a spatula without scraping too much.
What should I do if I'm missing a strip, or it gets damaged during installation?
With Sweet Papaya, you can replace an exact strip with the same batch to match the herringbone without having to buy a whole roll.